Apple Mail 7.3 Quick Start Guide
Recently, we have been hearing more reports of people having various issues configuring and setting up their email accounts using varying range of email clients. This guide will be one of a series of guides which aims to help you through the process of configuring your email client to receive emails from your email account. Additionally, it will also show you additional useful settings and features which may help enhance your experience when using these email clients.
Today, we will be looking at Apple Mac’s default email client, Mail. The version which I will be using in this guide is version 7.3. The steps in this guide may be similar to the older versions of Mail however, I cannot guarantee that they will be the same.
This guide is aimed at users wishing to configure their email client quickly. If you wish to view an advanced user setup guide, please look at this guide.
Apple Mail
Setup
Upon loading Mail, you will be presented with a window asking what mail account you wish to add to the email client.
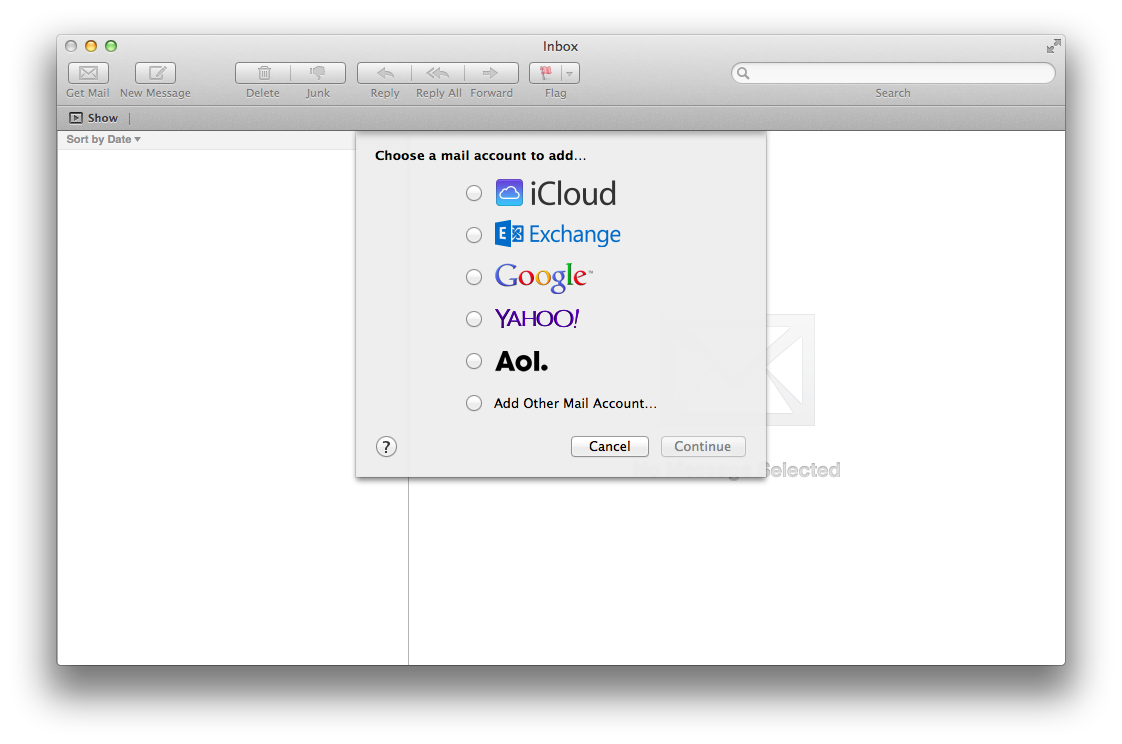
Press the Add Other Mail Account… radio button at the bottom of the list and press Continue.
Automatic Email Account Setup
The way in which Mail works is by attempting to connect to your email account automatically at every point during the setup process. If automatic setup fails, Mail will prompt you to manually enter some details in order to help it locate your mail server and connect to your email account. As such, I cannot provide an ‘Automatic’ email setup guide as this will depend on your email server configurations and whether Mail is able to easily find your email server. Due to this, I will write the setup guide for both automatic and manual in the ‘Manual Email Account Setup’ section of this guide, although Mail may be able to automatically configure itself at several points during the process.
Manual Email Account Setup
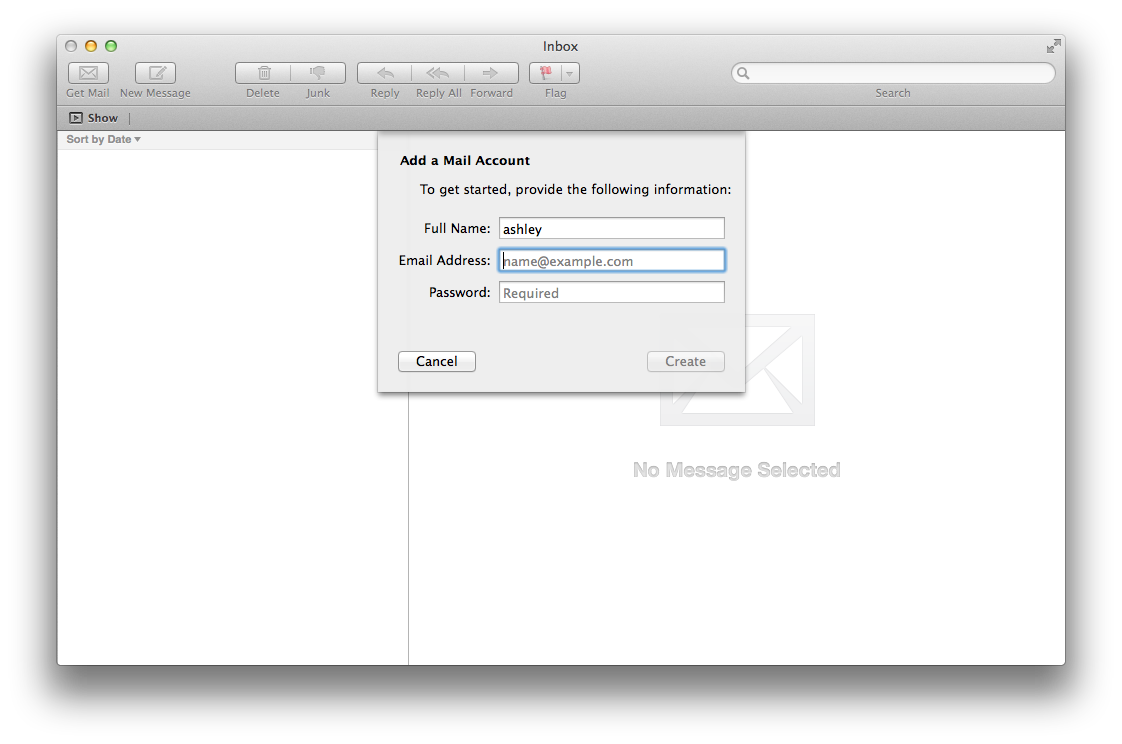
The email client requires several fields in order to try to connect to the email account automatically.
- Full Name: This should be your full name.
- Email Address: This should be your email address.
- Password: This should be the password you use to connect to your email account.
Upon pressing the Create button, Mail will try to connect to your email account. If it succeeds, you will be presented with your email inbox. However, it Mail is unable to connect to your email account, it will display a message stating Account must be manually configured. In this case, Mail required additional information.
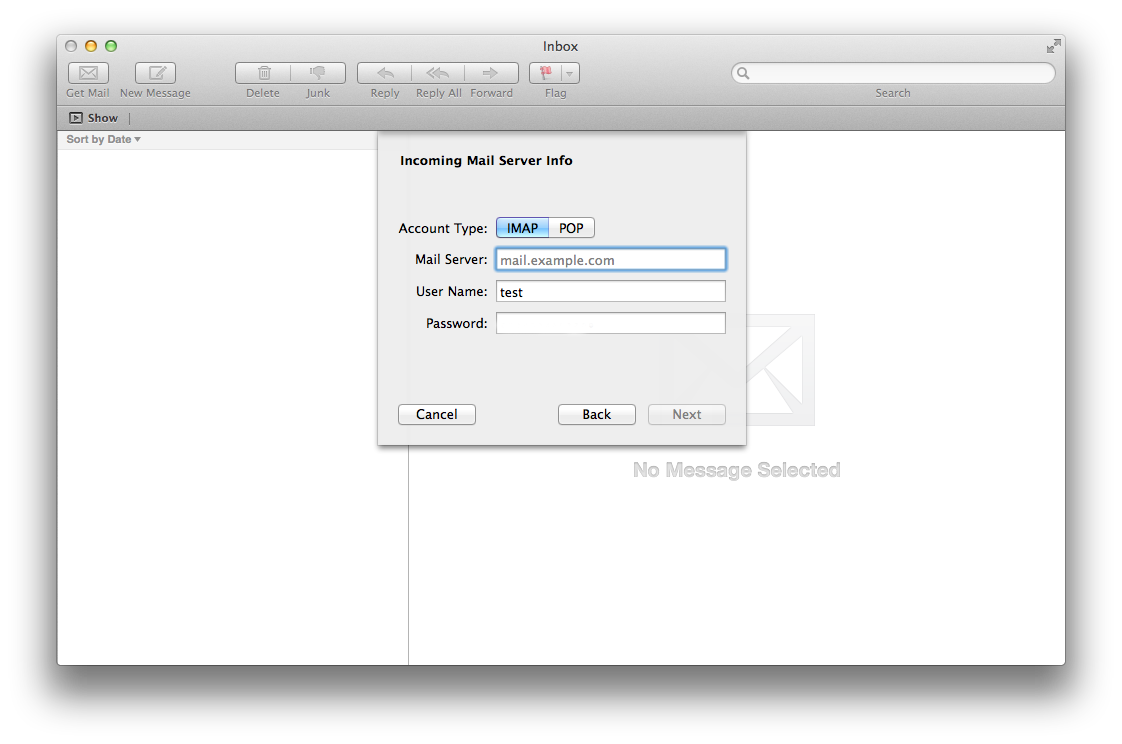
The next screen will be asking you for incoming mail server information. This screen will ask you for several pieces of information.
- Account Type: If you are connecting to your email account on multiple devices, you should choose IMAP. If you are connecting to your email account on one device, you should choose POP.
- Mail Server: This should be as follows, mail.<YOUR DOMAIN NAME>.co.uk. For example, mail.jtresponse.co.uk.
- User Name: This should be your email address.
- Password: This should be your password.
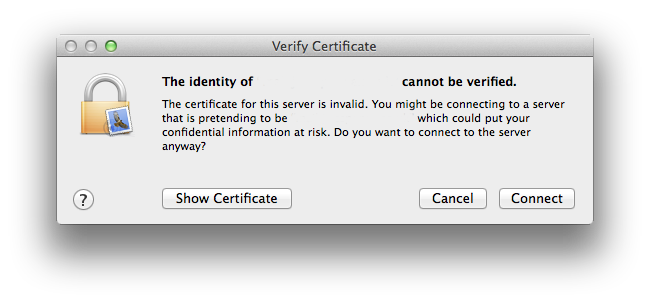
Press the Next button. You may be asked to verify the certificate of your incoming mail server. Press Connect to continue connecting. At this point, Mail will try again to connect to your email server automatically. If it succeeds, you will be taken to a screen asking you to enter outgoing server information. However, if it continues to fail, you will be asked to enter additional account information in order to assist Mail to connect. If this is the case, Mail will display the message Additional account information required to you in the current window.

You will now be asked to input additional incoming mail server information. You will be asked for several pieces of information.
- Path Prefix: Ignore this option.
- Port: This should be automatically completed.
- Use SSL: This should be unchecked.
- Authentication: This should be set to password.
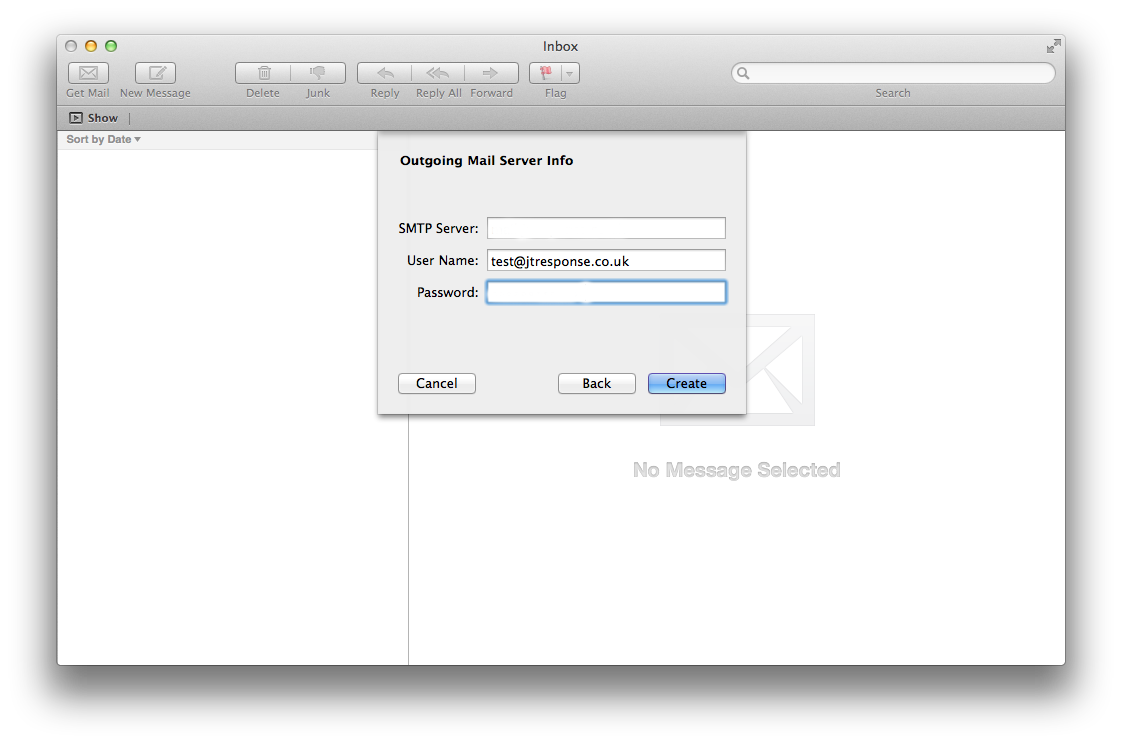
The next screen will be asking you for outgoing mail server information. This screen will ask you for several pieces of information.
- SMTP Server: This should be as follows, mail.<YOUR DOMAIN NAME>.co.uk. For example, mail.jtresponse.co.uk.
- User Name: This should be your email address.
- Password: This should be your password.
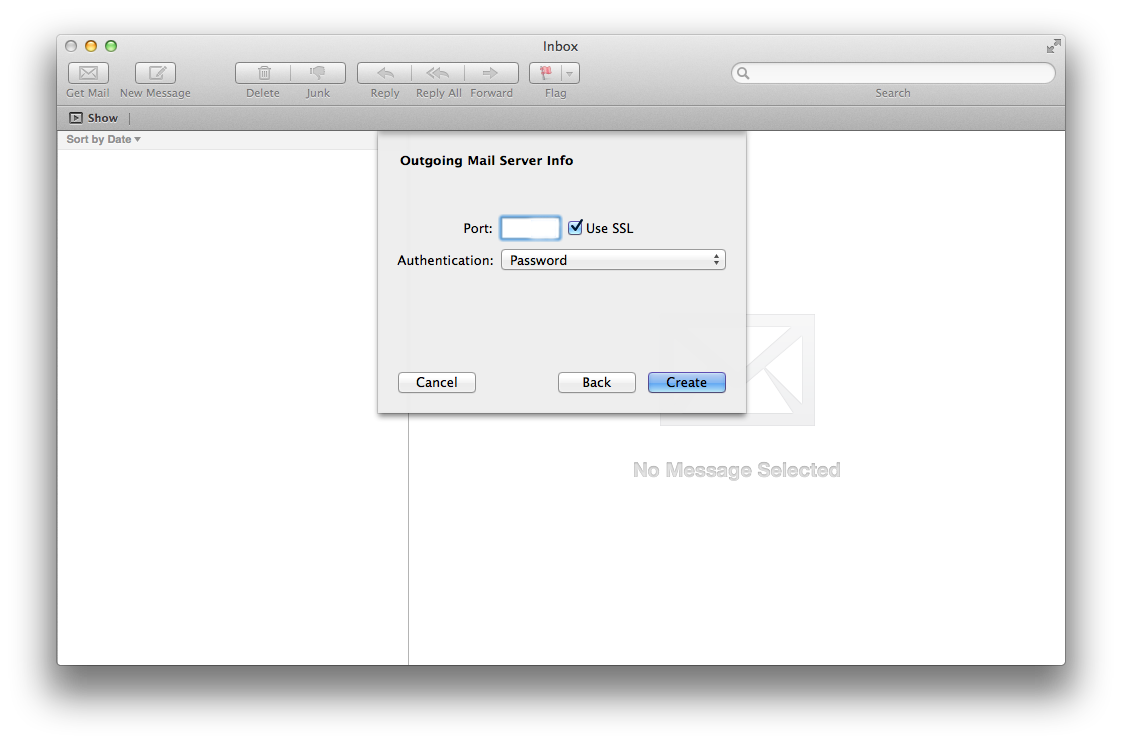
You will now be asked to enter additional outgoing mail server information to further help assist Mail in connecting to your outgoing server. This screen will ask you for several pieces of information.
- Port: This should be automatically completed.
- Use SSL: This should be unchecked.
- Authentication: This should be set to password.
Press the Create button to continue. Mail should now be able to connect to your email account. If Mail succeeds in connecting to your email account, you will be presented with the inbox to your email account. If Mail fails to connect, it will notify you that it is unable to connect and you will need to go back and verify that the email account and server information that you entered is correct.
Features
Create Rule
To create a rule, you must press the Mail option on the menu bar at the top of the screen. In this drop down menu, select the Preferences option. This will open up your mail preferences for your account. Select the Rules option.
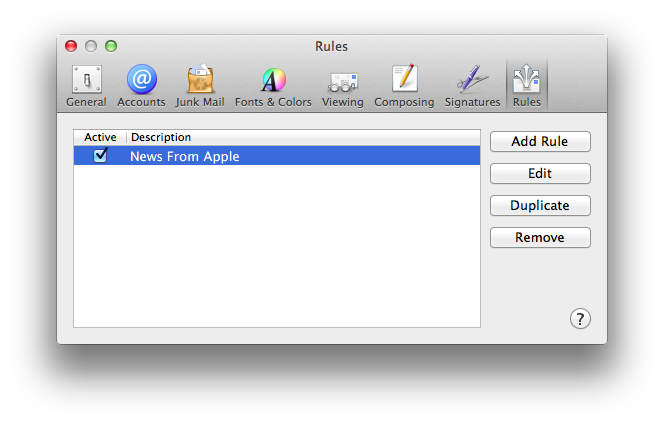
Press the Add Rule button to create a new rule. In the future, we can also press the Edit button to edit a rule which we have made, or press the Remove button to delete a rule which we have created. The checkbox next to each rule determines whether a rule is currently active.
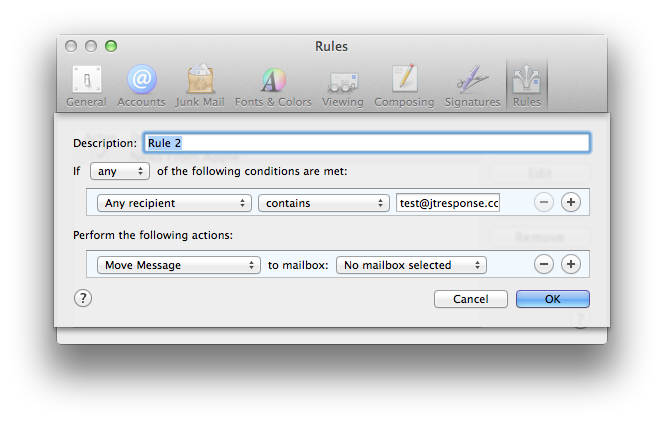
Press the Add Rule button. At the top of the window, there is a description box. This box is what the rule will be called.
The first section of this window is used to determine the conditions of the rule. Here you have options allowing you to determine how many conditions need to be met in order for the rule to activate. In the next row, you will be able to specify rule conditions. The first drop down menu is used to specify what type of condition it is. The second drop down menu is used to further specify the condition. The third box is used to specify what the condition is searching for. The plus button can be used to add an additional condition to the rule. The minus button can be used to remove a condition from the rule.
The second section of this window is used to determine the actions of the rule. Here you have options allowing you to determine what actions should be taken. The first drop down menu allows you to choose the type of action which will be taken. Additional options will become available depending on the type of action which you have chosen. Once again, the plus button can be used to add additional actions to the rule and the minus button can be used to remove an action from your rule.
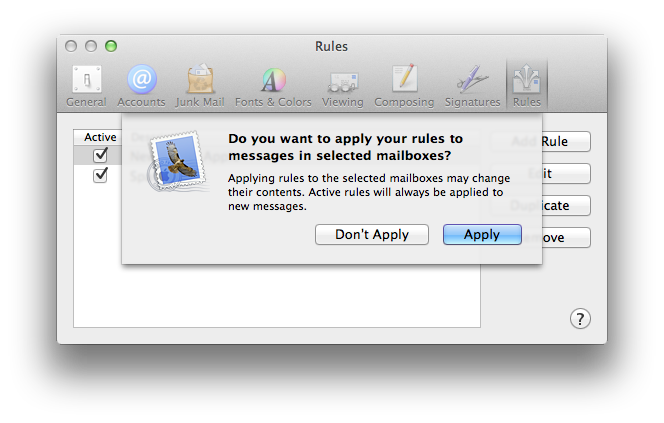
Press the OK button to save the rule to your email account. You will be prompted as to whether on not you wish to apply rules to the messages which already exist in your mailbox. If you wish to do this, it will go through all the messages in your mailbox.
Troubleshooting
Relay Access Denied
To fix this issue, follow the following steps:
Press the Mail tab and select Preferences.

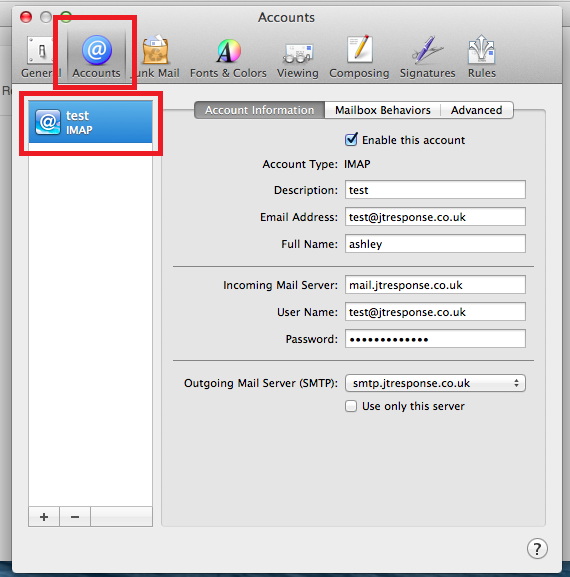
Navigate to the Accounts tab and select your email account from the list on the left.
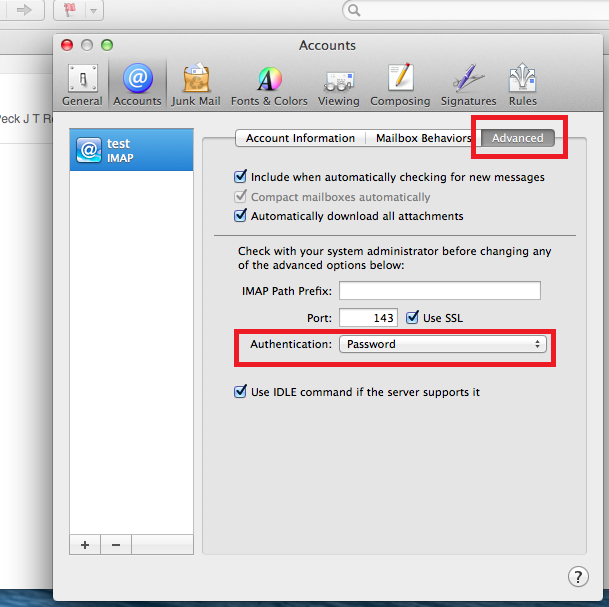
Navigate to the Advanced tab and choose Password from the Authentication dropdown menu.
This issue should now be resolved.
Summary
I hope that this guide will help you to setup, configure and use Apple Mail 7.3. Most of the steps taken in this guide should be similar for other versions of Apple Mail but I cannot guarantee this, therefore if you are using a different version, please follow these steps at your own risk. If you have any questions about this guide, please comment below and I will be happy to assist you.