Microsoft Outlook 2010 Filters Guide
The J T Response email server uses Spam Assassin to mark messages likely to be spam.
In this post we are going to show how to set up your own personal filters on Microsoft Outlook 2010 to move messages marked as SPAM to your Junk folder. We used Microsoft Outlook 2010. If you have a different version of Outlook the details may vary slightly.
To start, we need to navigate to the Rules section of Microsoft Outlook:
- Press the Home tab on the ribbon bar.
- Click the Rules button and select Manage Rules and Alerts.
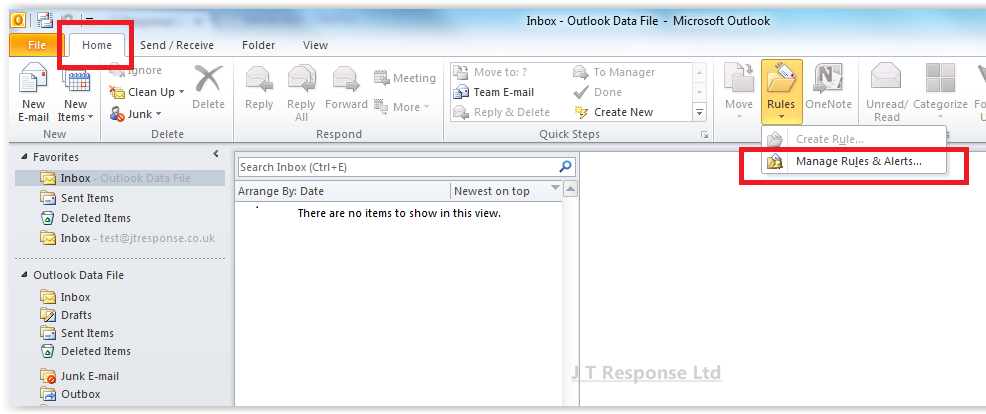
This will open up a new window where we can create the spam filter rule.
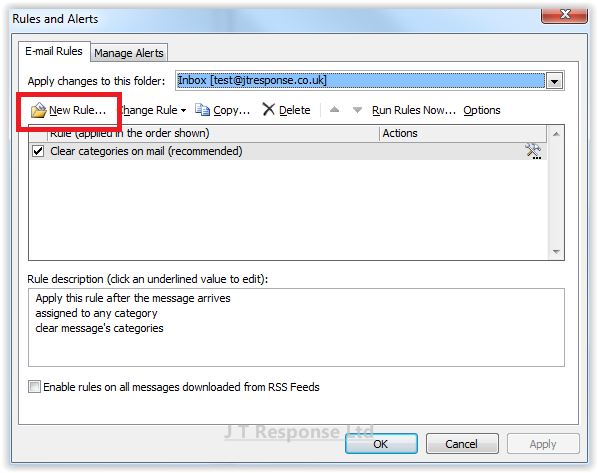
To create the spam filter rule, follow these steps:
Press the New Rule button.
Choose the Apply rule on messages I receive option under the Start from a blank rule category.
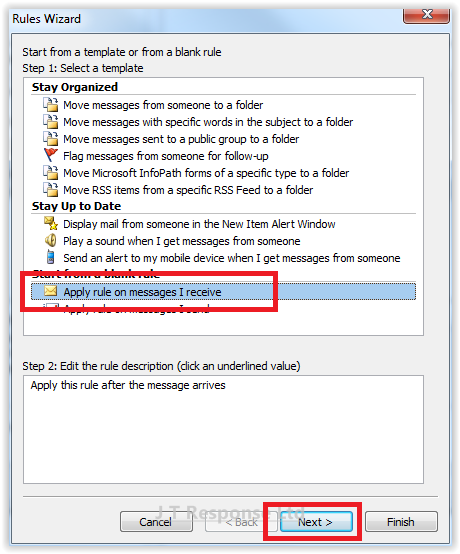
Press Next.
Check the option with specific words in the message header.
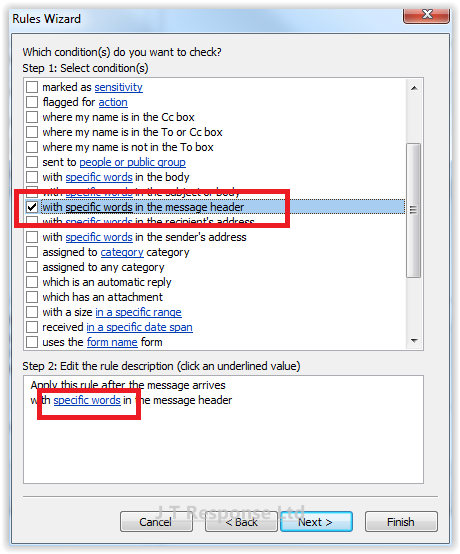
Under the Step 2 category, click the underlined specific words text.
Type the following into the message header box: X-Spam-Level: ****** and press Add.

Press OK to close the window and then press Next.
Check the option move it to the specified folder.
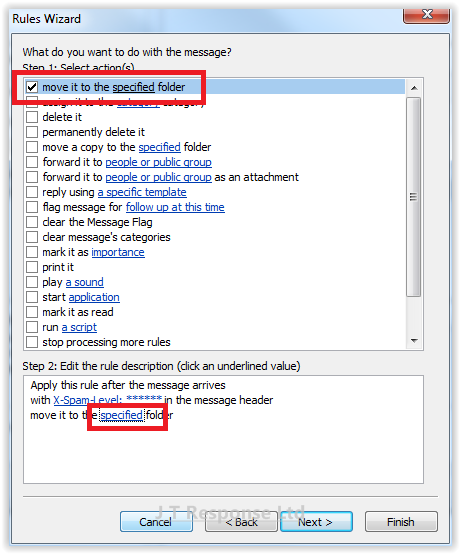
Under the Step 2 category, click the underlined specified text.

Select the Junk E-mail folder and press OK followed by Next.
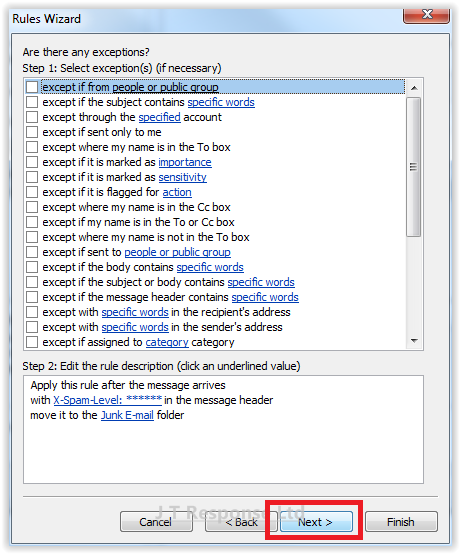
We will not be adding any exceptions so press Next again.
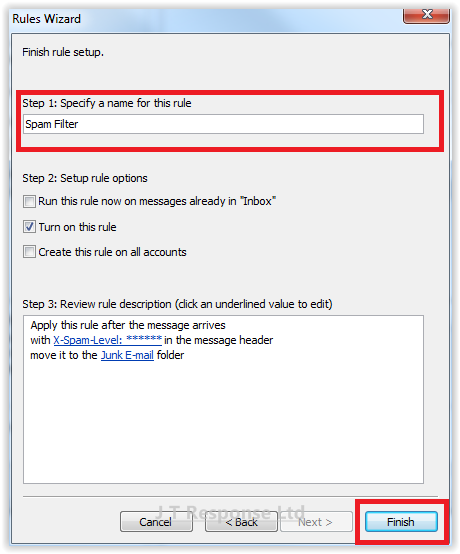
Type Spam Filter into the rule name and press Finish.
Your email client will now automatically deal with spam and move any flagged messages to your Junk E-mail folder upon arrival rather than your Inbox.